Push Notifications
iOS
Follow these steps to configure Chatness push notifications for iOS. Make sure to have followed these iOS build instructions and the app is running with npm run serve:ios
Before starting issue an npm install to keep dependencies aligned and up to date. Especially if you're upgrading Chatness from a previous version.
Keep in mind that you'll need an active Apple Membership to configure push notifications.
App ID
The first thing we need to do is creating an app id on Apple Developer site. This app id must be unique and will be used by the final bundle and App Store to identify your application.
- Go to developer.apple.com
- Access your account
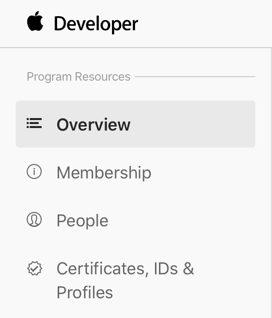
- Navigate to Certificates, IDs & Profiles
- From the left menu, go to Identifiers
- Click the plus (+) button
- Choose App IDs and continue
- Select App
- Enter a description and the bundle ID which must be unique (eg: com.my.chat.app)
- Select Push Notifications in the list
- Continue and register
Create a Certificate Signing Request
- Launch Keychain Access located in /Applications/Utilities
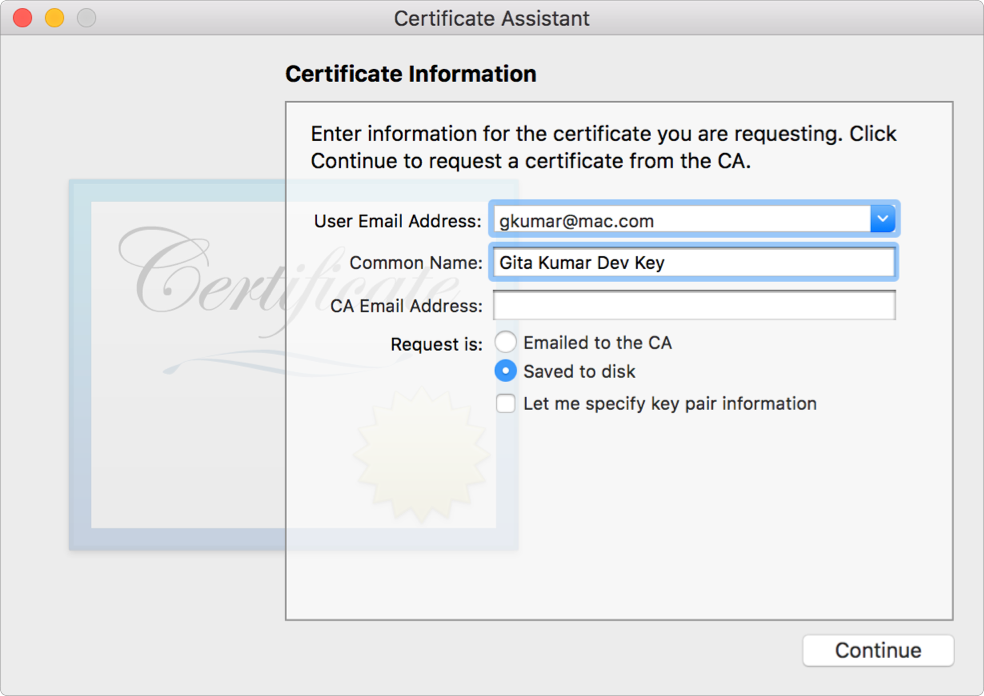
- Choose Keychain Access > Certificate Assistant > Request a Certificate from a Certificate Authority
- In the Certificate Assistant dialog, enter an email address in the User Email Address field
- In the Common Name field, enter a name for the key (for example, Gita Kumar Dev Key)
- Leave the CA Email Address field empty
- Choose "Saved to disk" and click Continue
Create a new Apple Certificate
- navigate to Certificates, IDs & Profiles
- click the plus (+) button
- choose iOS App Development
- upload the Certificate Signing Request acquired earlier
- continue and download the certificate (ios_development.cer)
Generate .p8 key file
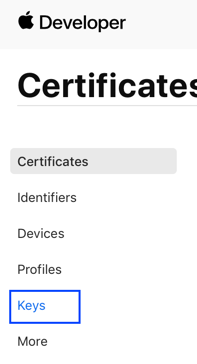
To generate a .p8 key file, go to Apple developer account page, then select Certificates, IDs & Profiles
Next, select Keys
Click the "+" button to add a new key
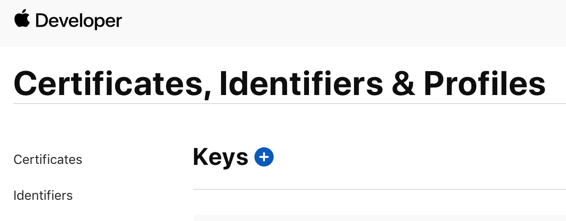
In the new key page, type in a key name and check the Apple Push Notification service (APNs) box, then click "Continue" and "Register"

Then proceed to download the key file by clicking Download
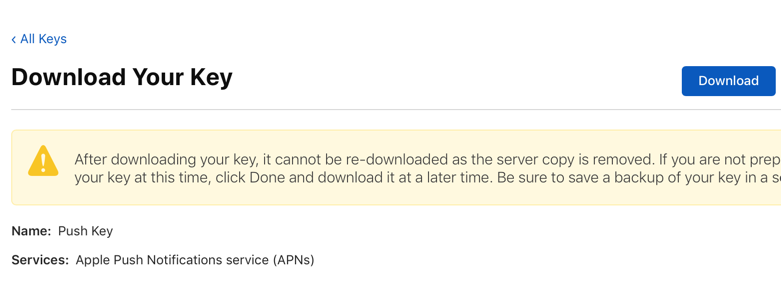
The Auth Key filename will look like this: AuthKeyABCD1234.p8 , the ABCD1234 is the Key ID for this key, we will need this Key ID later.
That’s for generating the .p8 key file! Remember to keep the key file safely as you can only download it once, if you lost the key file, you will need to revoke and it and register a new one.
Create a Firebase iOS App
Now that we have the .p8 push notification key, let’s head to Firebase to configure the APN (Apple Push Notification) service with the key file.
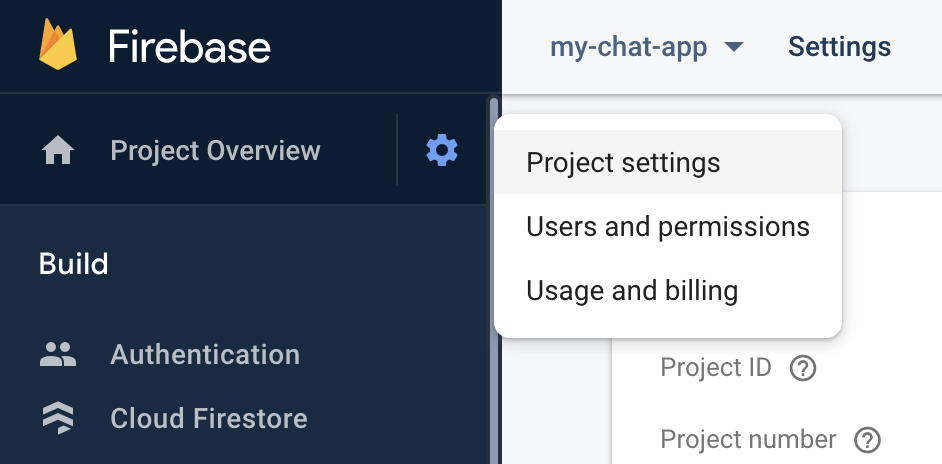
Go to your project settings
Add a new app (iOS icon)
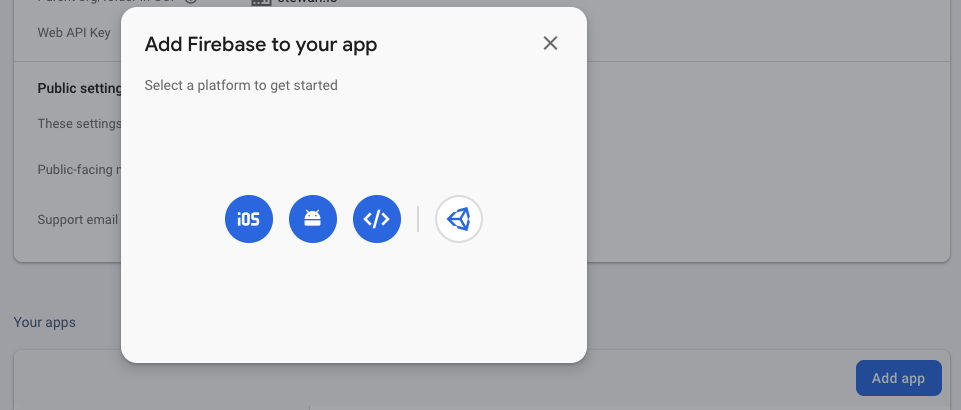
Fill in the iOS bundle ID you created at the very first step

Download the GoogleService-Info.plist and skip the rest
Add .p8 key to Firebase
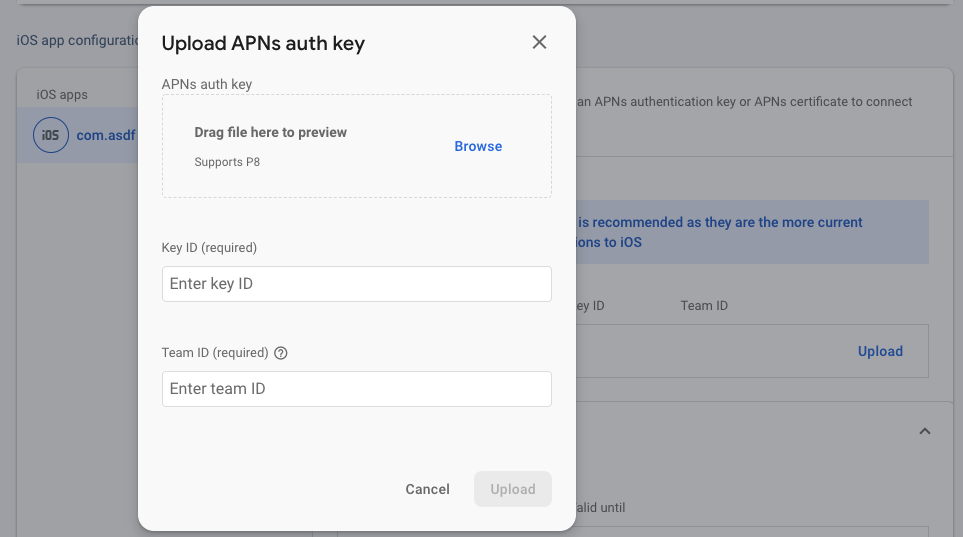
Go to Project Settings at Firebase and then inside Cloud Messaging tab, upload the p8 key file to the Firebase iOS app (APNs Authentication Key) with the key ID acquired earlier on the p8 key generation step and the account team ID from your Apple Developer account.
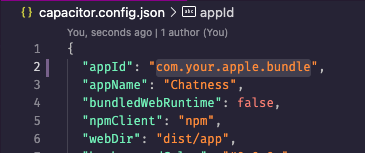
Edit Capacitor config
Now it's time to add your bundle ID to Capacitor and then issue npm run serve:ios
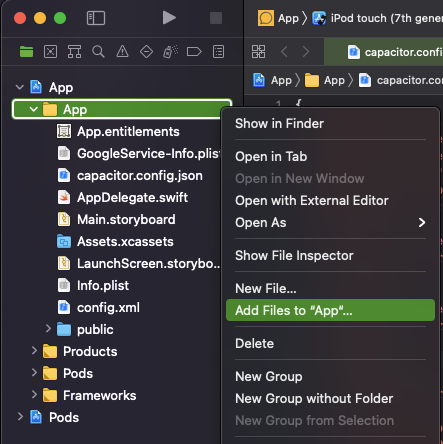
Add Google Service
To include the GoogleService-Info.plist acquired earlier in the native project, open Xcode with npm run serve:ios and right-click on the yellow folder named "App" and then select the option "Add files to App".
Test iOS notification
Now you can deploy the app to device (Xcode's play button). Once it's running you will be subscribed to a test topic. Head to Firebase Console > Cloud Messaging option from menu and click on "Send your first message". Enter a notification title and text, click next and then under "Target" select the option "Topic", next, next, review and publish. If you have followed correctly all the steps above you should receive this notification on your device.

Android
Follow these steps to configure Chatness push notifications for Android. Make sure to have followed these Android build instructions and the app is running with npm run serve:android
Before starting issue an npm install to keep dependencies aligned and up to date. Especially if you're upgrading Chatness from a previous version.
Create a Firebase Android App
Go to your project settings
Add a new app (Android icon)
Fill in the Android package name. It can be the same as iOS bundle id, then register the app and download the google-service.json file
Add Google Services to the native project
To include google-service.json acquired earlier in the native project, open Android Studio with npm run serve:android and then drag and drop the file under the folder named "app".
Import FCM Plugin
For Capacitor apps < 3.0 we need to tell it to initialise the plugin
- Open the file
MainActivity.java. It's located atapp/java/[your.package.name]/MainActivity - add
import com.getcapacitor.community.fcm.FCMPlugin;on top - add
add(FCMPlugin.class);inside the init callback
It should look like
//...
import com.getcapacitor.community.fcm.FCMPlugin;

// ...
this.init(savedInstanceState, new ArrayList<Class<? extends Plugin>>() {{
    add(FCMPlugin.class);
}});
Test Android notification
Now you can deploy the app to device (Studio's play button). Once it's running you will be subscribed to a test topic. Head to Firebase Console > Cloud Messaging option from menu and click on "Send your first message". Enter a notification title and text, click next and then under "Target" select the option "Topic", next, next, review and publish. If you have followed correctly all the steps above you should receive this notification on your device.
Chat notifications
To get notifications for chat, 1x1 or groups, you should also deploy the message trigger to Firebase Functions.
From your app root, issue npm run functions:deploy and you should be all set. To start receiving notifications from a group you'll need to have visited that group before.
Push notifications are proudly powered by the Capacitor FCM community plugin. Please make sure to leave a star on Github ⭐